

Cell layout and reachability test
Which robot do you need for your palletizing station? And where do you place the pallet(s) and the robot? How do you ensure the robot is able to reach all pallet positions?
In this step, you will learn best practices of cell layout to enable you to create a first draft of your own palletizing station.
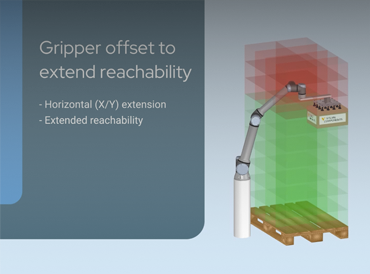
You will also learn how to perform a reachability test in a simulation tool to verify that the robot can reach all layers and positions on the pallet, and that the robot doesn't collide with any objects. The reachability test also helps you determine which kind of gripper you need, and whether you need a 7th axis.
- Create first draft of palletizing station
- Perform reachability test to verify the robot can reach all layers and positions
Downloads
Modules
 Walkthrough
2.1. Cell layout best practices
- Layout design
- Pallet positioning
- Robot mounting
- Gripper mounting
 Walkthrough
2.2. The theory of reachability test
- Reachability of all positions
- Detecting collisions
- Need of 7th axis

 Hands-on
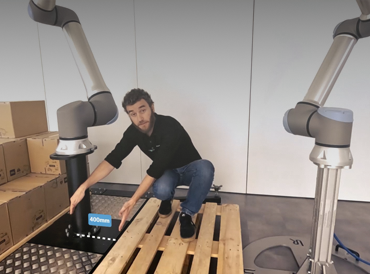
2.3. Customer Case - part 2: cell layout and reachability test
- 3D cell layout
- Reachability test
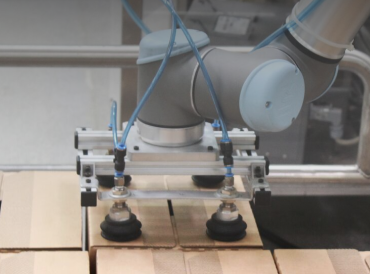
- Gripper design and mounting
Additional Resources

Goals check
Verify if you reached all the goals for this stage and you have everything you need to proceed.
Next stage:
3. Gripper selection and test
When you have finalized the layout of your palletizing station and performed a reachability test, the next step is to select a gripper that works well with the materials you palletize.
In this stage you will learn how different gripping systems work, which materials they are suitable for, and why performing a grip test before investing in a gripper is essential.